Imagine setting up a secret clubhouse that only you and your friends can access. Adding Solana to MetaMask is like creating that exclusive space for your digital assets. It’s quick and straightforward, and you’ll be able to safeguard your tokens and gain entry to exciting decentralized apps in no time. So, are you ready to open the door to your new crypto playground? Let’s jump into the five easy steps to get you started!
Step 1: Install MetaMask Extension
Ready to plunge into the world of crypto? Initially, you gotta install the MetaMask extension. It’s super easy! Just head over to your browser’s extension store and search for MetaMask. Click “Add to Chrome” or whatever browser you’re using.
Once it’s added, you’ll see that little fox icon pop up. That’s your gateway to managing all those cool assets, including Solana!
You’ll spot the adorable fox icon, your key to managing exciting assets like Solana!
MetaMask features a user-friendly interface, making it simple to navigate. It’s designed to help you interact with decentralized apps and tokens.
With its secure wallet, you can store your Solana without worrying too much. So, get that extension installed, and you’ll be ready for the next step in your crypto adventure!
Step 2: Create a New Wallet or Import an Existing One
Now that you’ve got MetaMask installed, let’s plunge into creating your wallet or importing an existing one. This step is essential for wallet security, so pay attention!
You can either create a brand-new wallet or bring in one you’ve already got. Here’s what you need to know:
- Create a new wallet: Follow the prompts to set up your unique secret phrase.
- Import an existing wallet: Use your private keys to access your current wallet.
- Backup your keys: Keep them safe! Losing them means losing access.
- Enable security features: Set up two-factor authentication if you can.
Choosing the right option guarantees you’re all set for the next steps. Let’s keep that crypto safe!
Step 3: Configure MetaMask for Solana
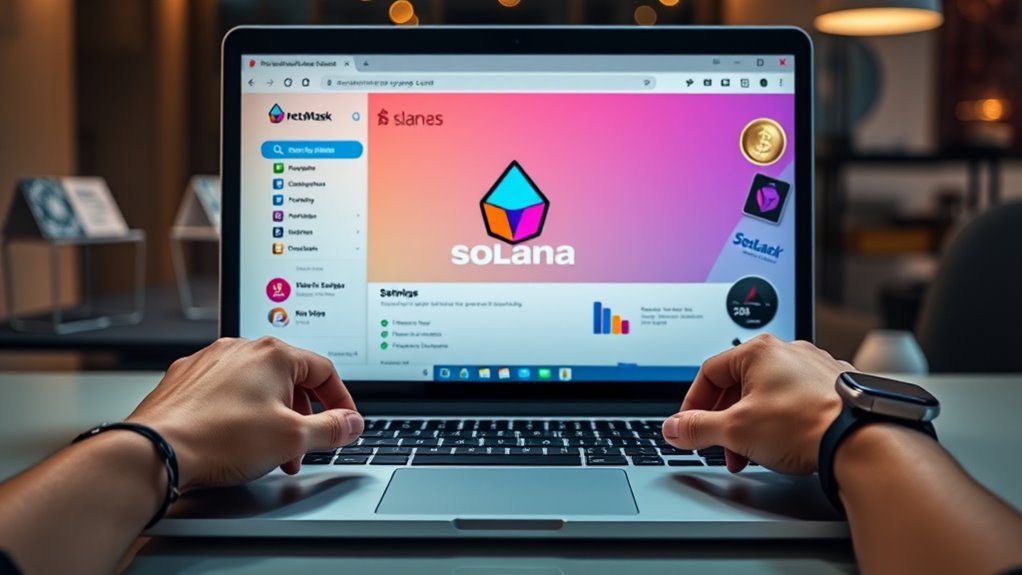
To get your MetaMask ready for Solana, you’ll need to tweak a few settings. Initially, open your MetaMask and head to the settings section. Look for the “Networks” option. This is where the magic happens! You’ll want to confirm you have the right RPC URL for Solana. Trust me, this is crucial for smooth MetaMask integration.
Next, investigate the Solana advantages—like faster transactions and lower fees. Adjusting your settings allows you to tap into these perks easily.
After that, save your changes! This step might seem simple, but it’s important for enjoying everything Solana has to offer. You’re one step closer to a seamless experience in the crypto world!
Get excited; you’re doing great!
Step 4: Add Solana Network to MetaMask
Once you’ve configured MetaMask, it’s time to add the Solana network! This step is vital for enjoying all the Solana properties. Here’s what you need to know:
- Network compatibility: Confirm your MetaMask is set to work seamlessly with Solana.
- Wallet security: Adding the network keeps your assets safe while you investigate.
- Token standards: Familiarize yourself with Solana’s unique token standards for smooth transactions.
- Easy integration: Enjoy quick access to decentralized applications on the Solana network.
Step 5: Transfer Solana Tokens to Your Wallet
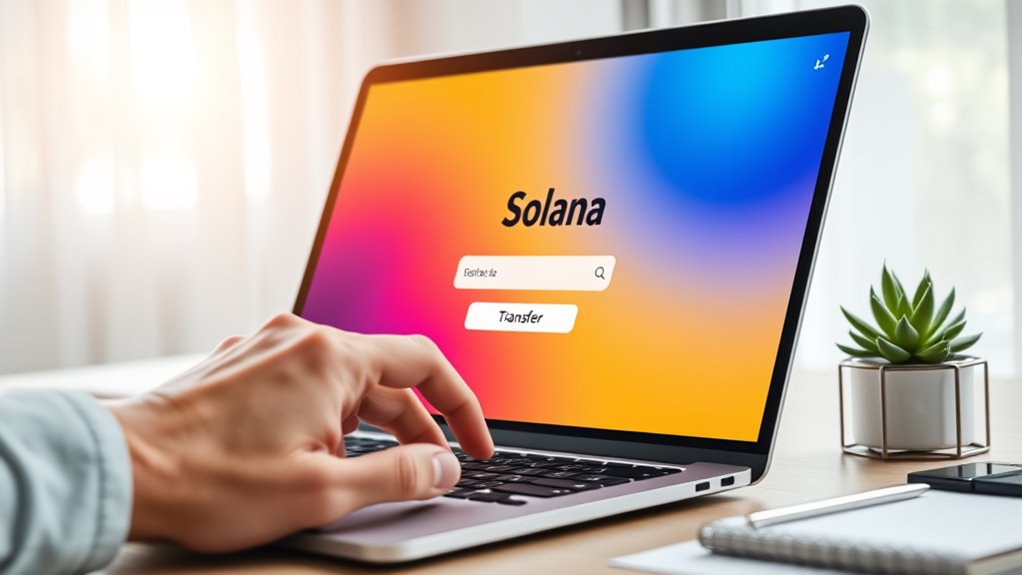
Ready to plunge into the exciting world of Solana tokens? Transferring your tokens to your MetaMask wallet is a breeze! Just follow these steps. To begin, verify your wallet security is tight. Use strong passwords and enable two-factor authentication. Now, head to the exchange where your Solana tokens are stored.
Here’s a quick reference for your token transfer:
| Step | Action |
|---|---|
| 1 | Log into your exchange |
| 2 | Select Solana tokens |
| 3 | Choose “Withdraw” |
| 4 | Enter your MetaMask address |
Once you confirm the transfer, wait a bit. Your tokens will arrive. Keep an eye on your wallet—you’re now part of the Solana community!
Conclusion
You’ve successfully added Solana to your MetaMask wallet. Now, you can immerse yourself in the world of decentralized apps and manage your tokens with ease. Isn’t it exciting to investigate new possibilities in crypto? Remember, the more you experiment, the more you learn! If you ever have questions or need help, don’t hesitate to ask. So, what are you waiting for? Start discovering and make the most of your new setup!